Run a Computor
Bare Metal (BM)
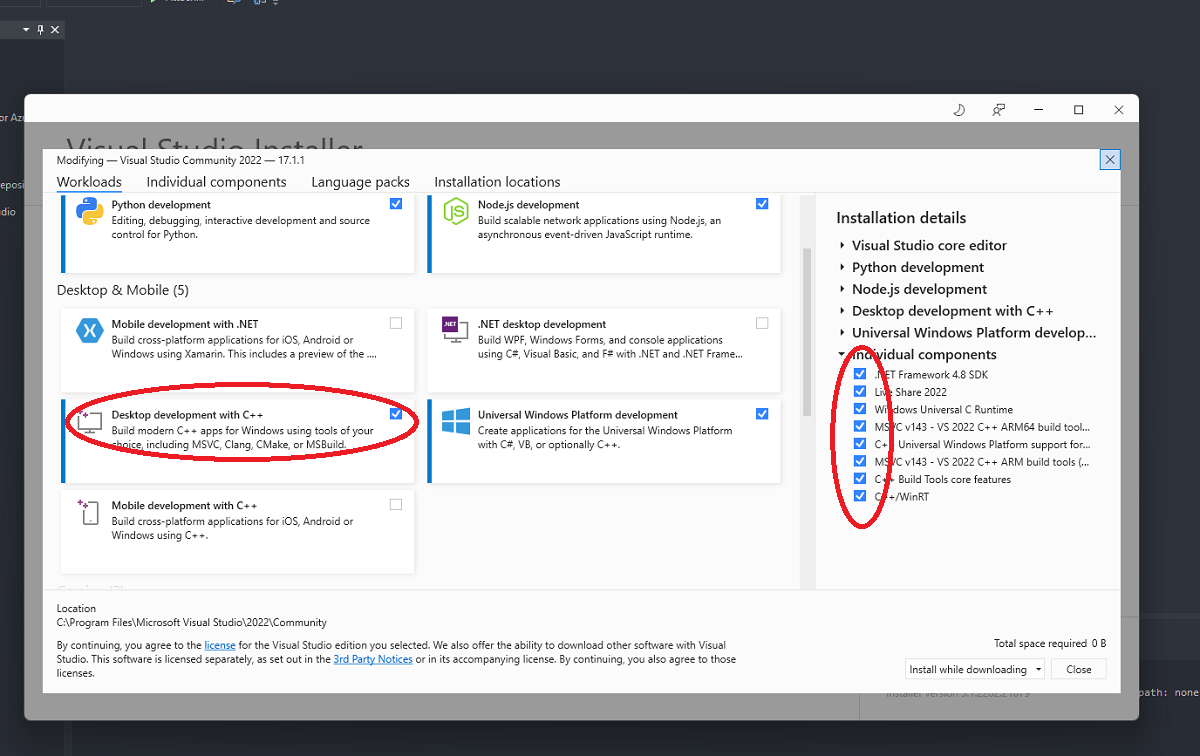
1.Install Visual Studio and configure the environment
Official link: visualstudio.microsoft.com
2.Download the file and modify the configuration
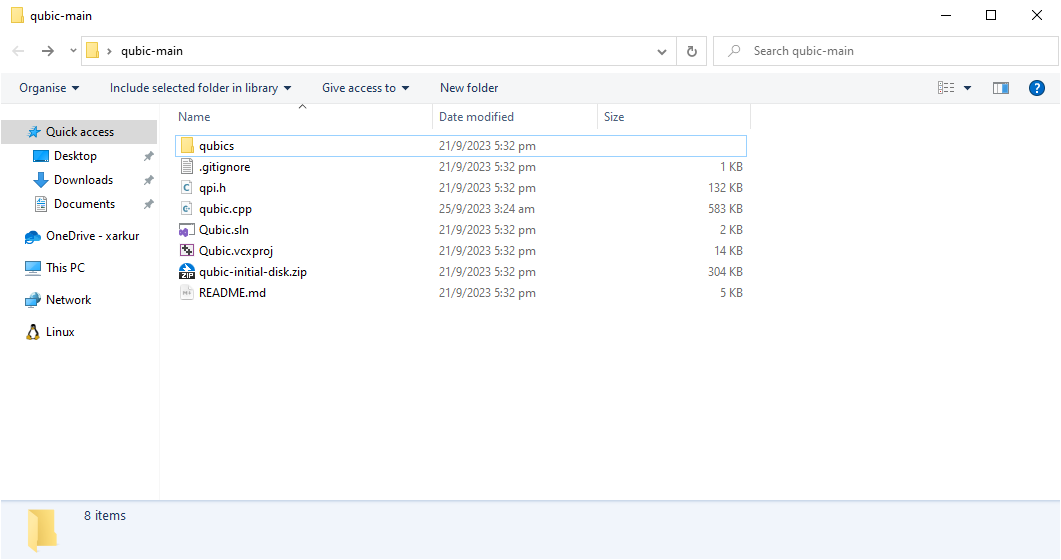
Qubic official library: https://github.com/qubic-network/core
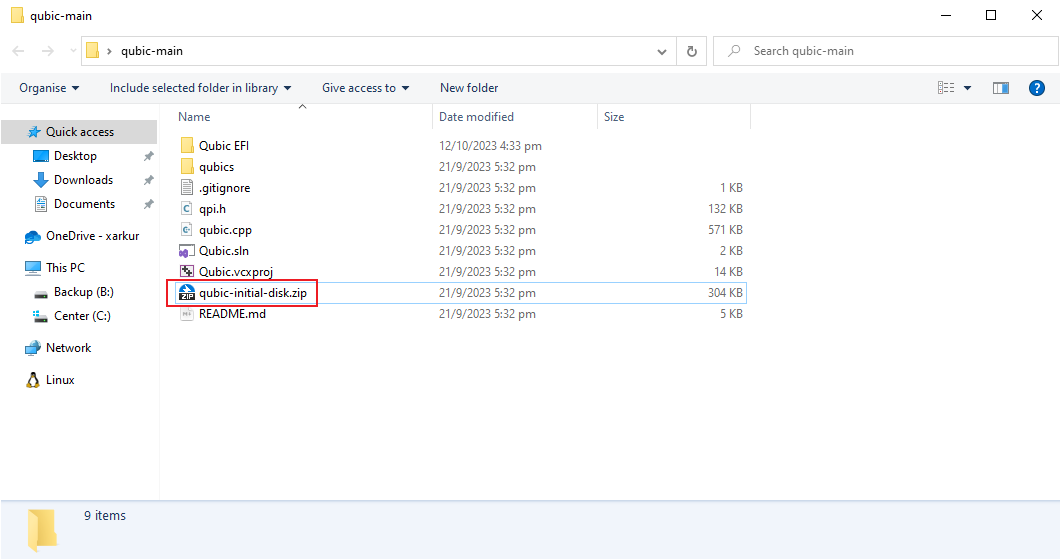
1.Unzip the downloaded file and use VS Studio to open the Qubic.vcxproj file in the folder.
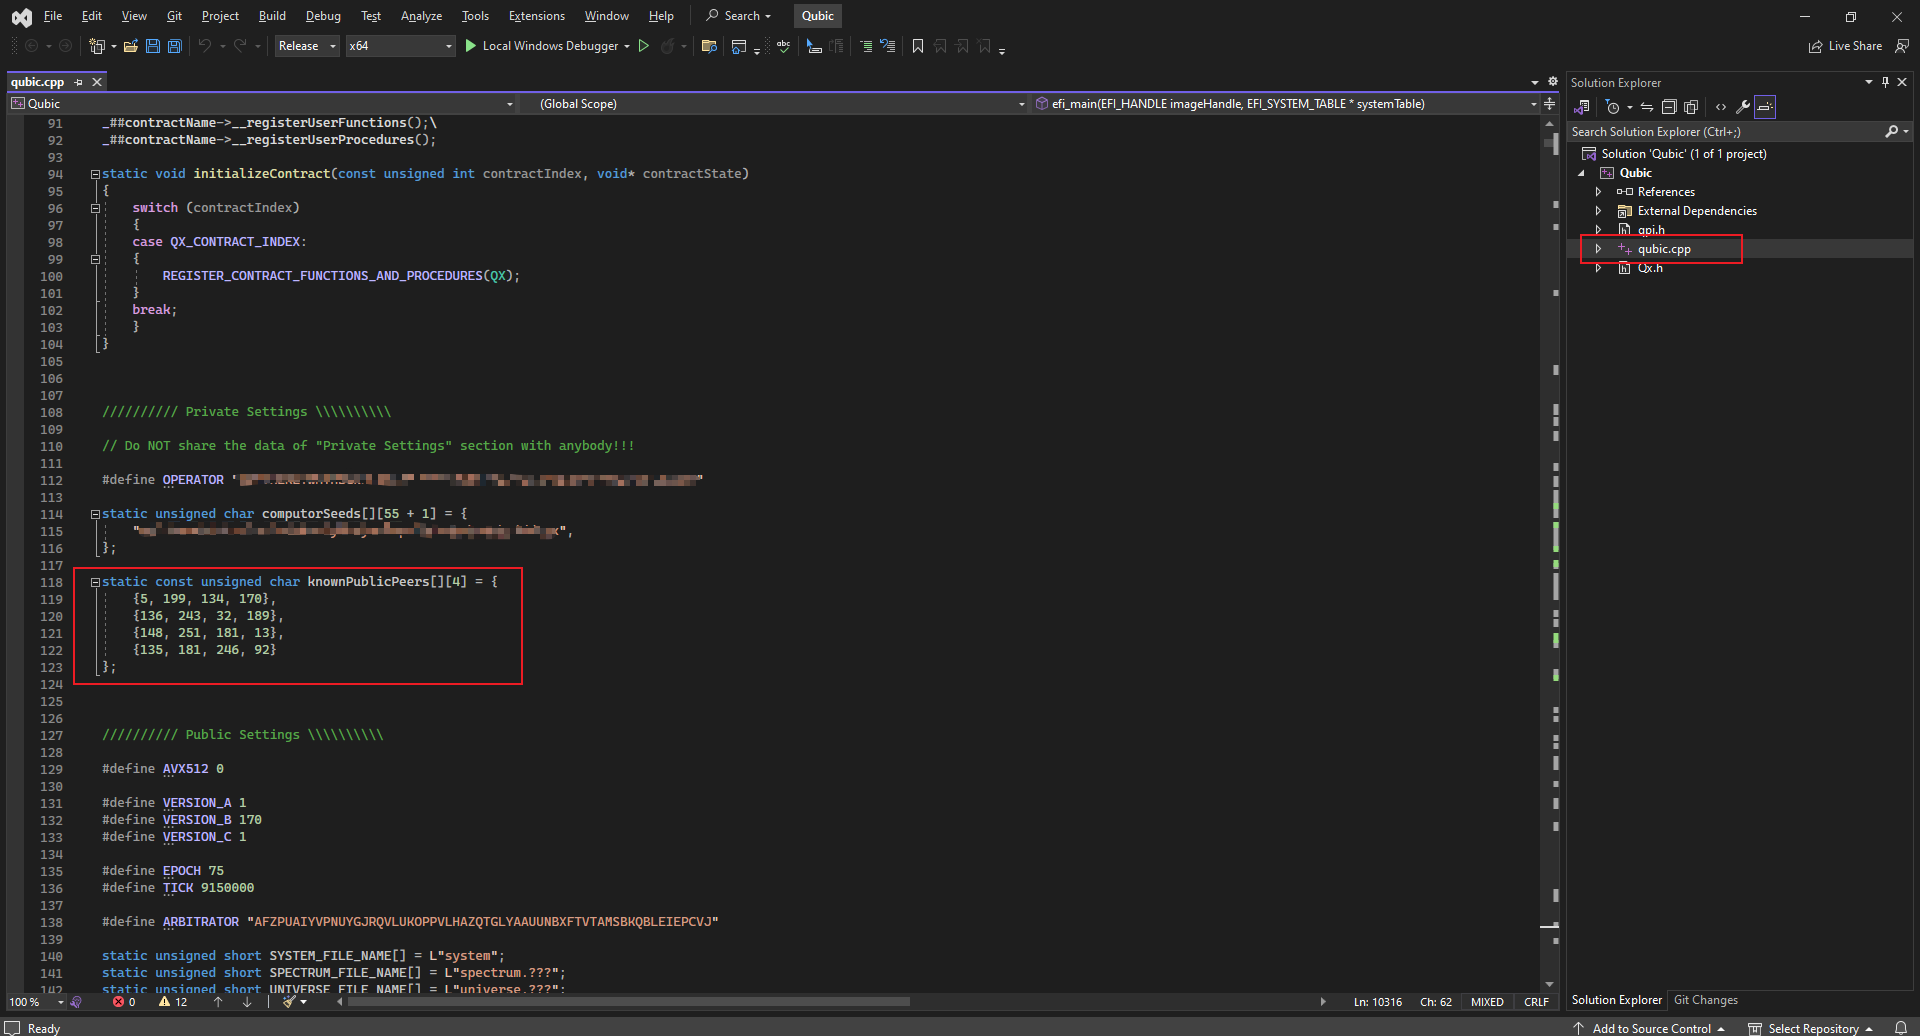
2.Select the qubic.cpp file and modify the Private Settings.
For the IPs of knownPublicPeers, you can go to https://app.qubic.li/network/live to select IPs with good health conditions.
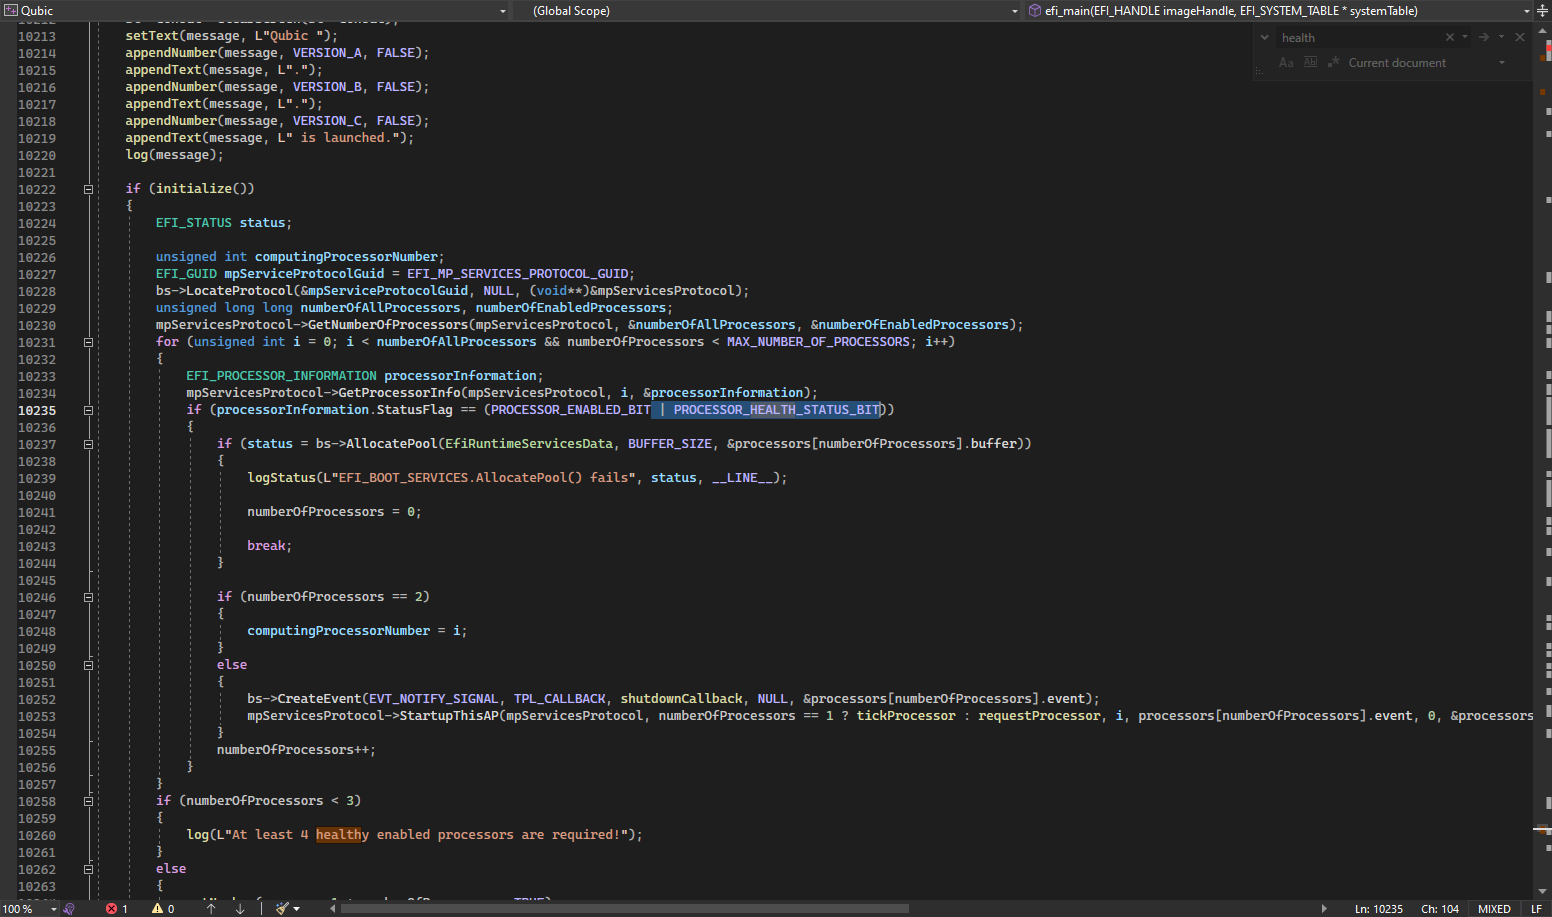
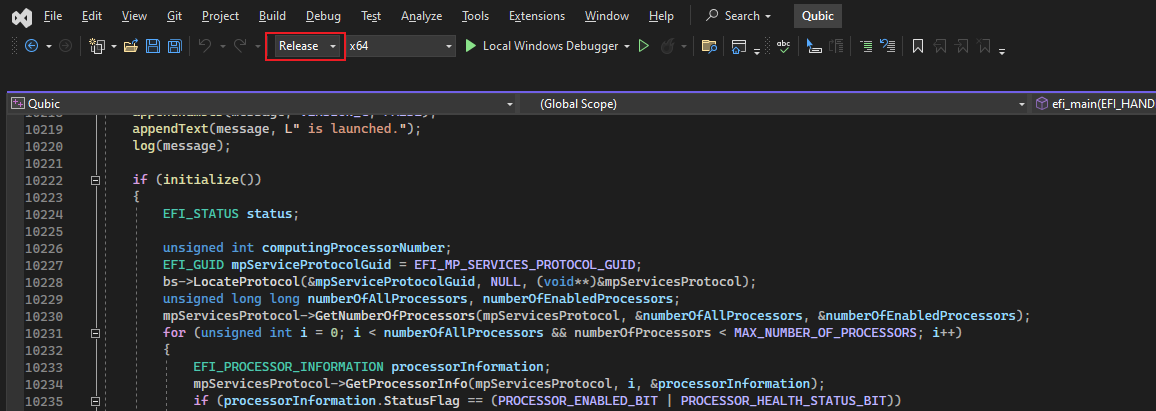
3.(Optional) Skip CPU health check
If your CPU performance is insufficient or the core cannot be correctly identified and is stuck at At least 4 healthy enabled processors are required!, then you can delete the code selected in the picture.
4.Compile Qubic.EFI
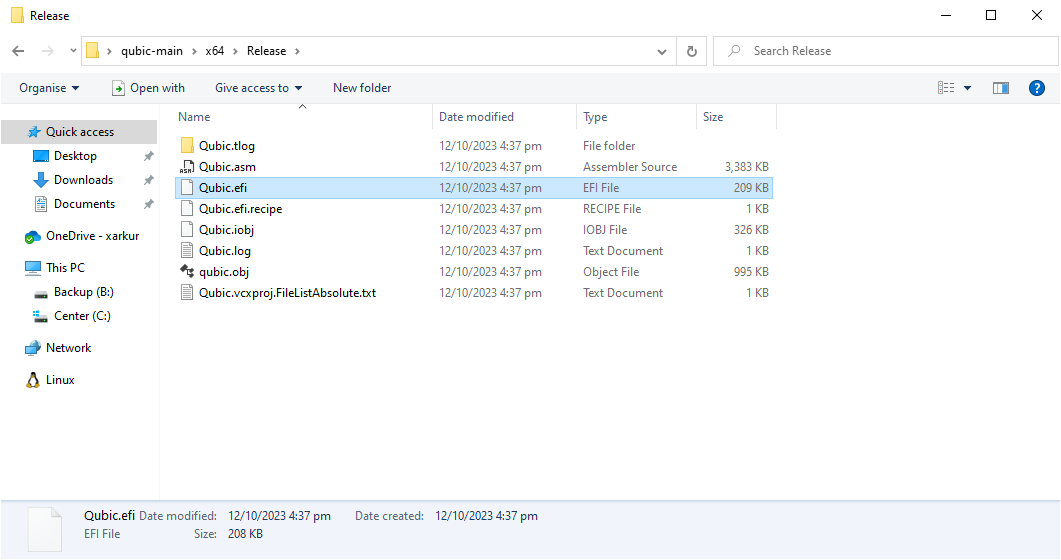
After completing the modification, select Release and press Shift + Ctrl + B to compile.
5.Create USB disk EFI file
1.Create a new folder and extract qubic-initial-disk.zip from the file you downloaded earlier.
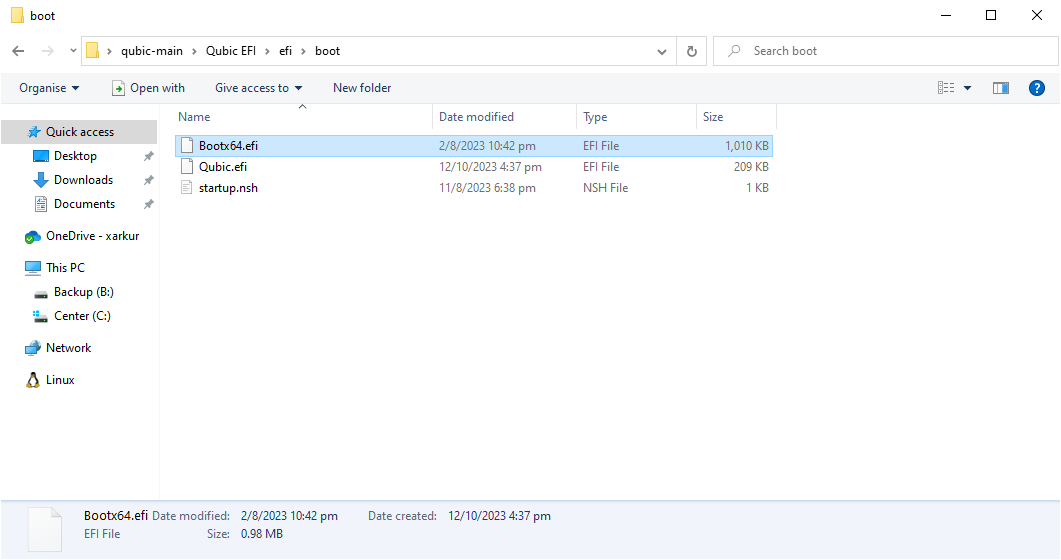
2.Place the generated Qubic.efi file in the boot directory.
3.Go to the Qubic Discord #computor-operator channel to get the current epoch file
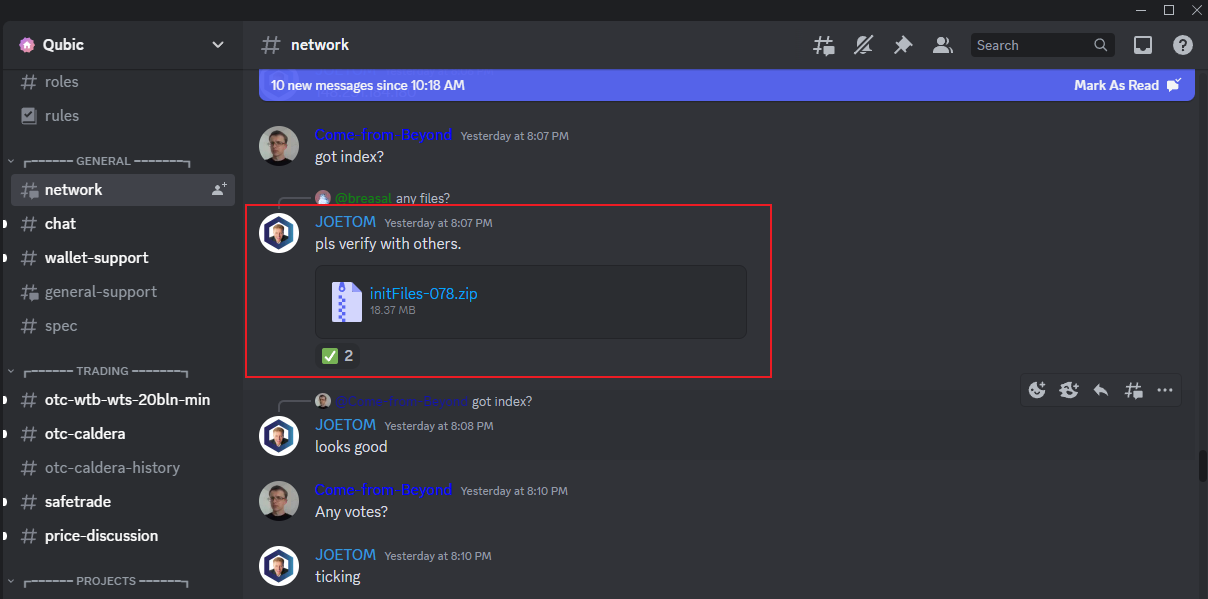
The complete file directory should look like the picture.
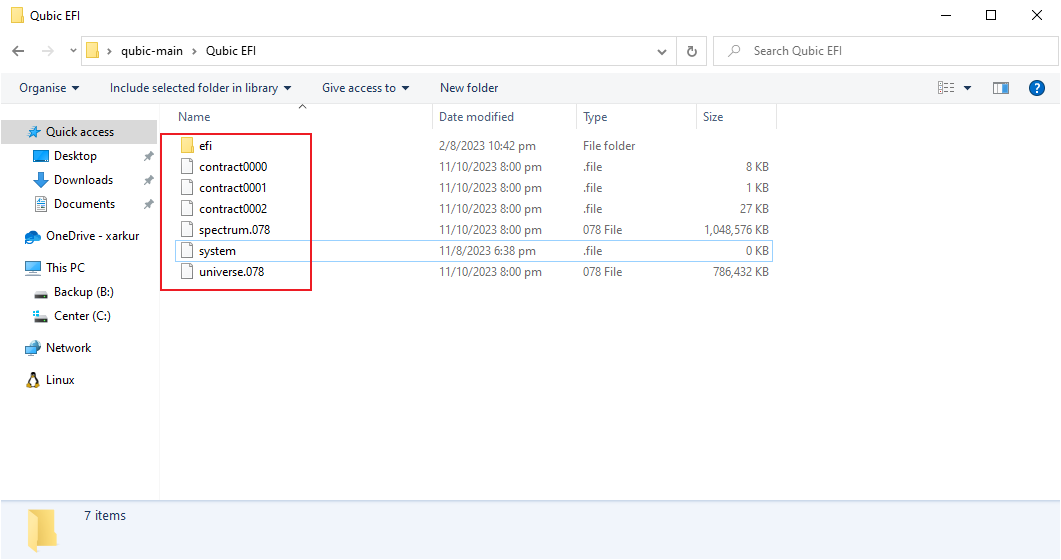
/contract.000.XXX
/contract.001.XXX
/contract.002.XXX
/spectrum.XXX
/system
/universe.XXX
/efi/boot
/efi/boot/Bootx64.efi
/efi/boot/startup.nsh
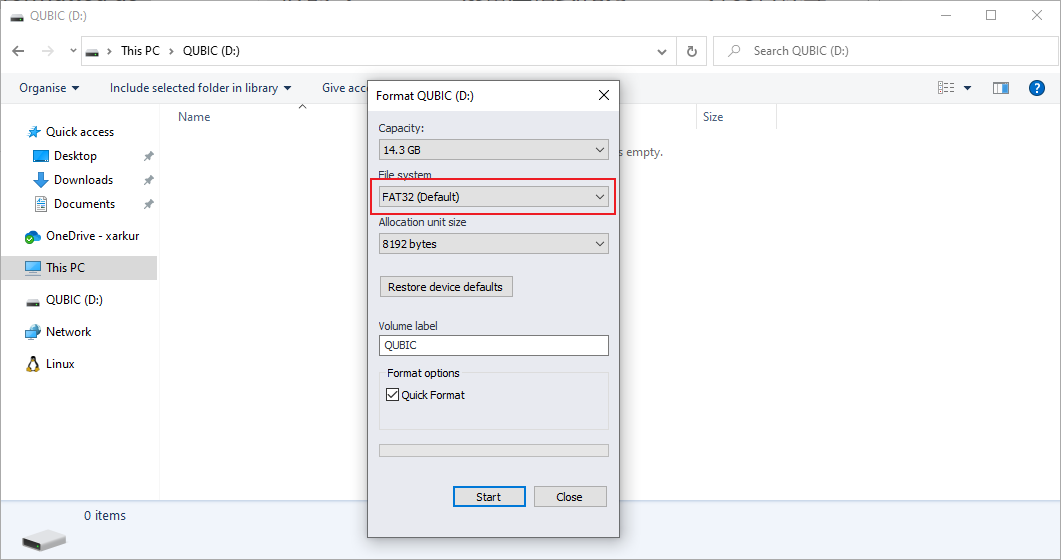
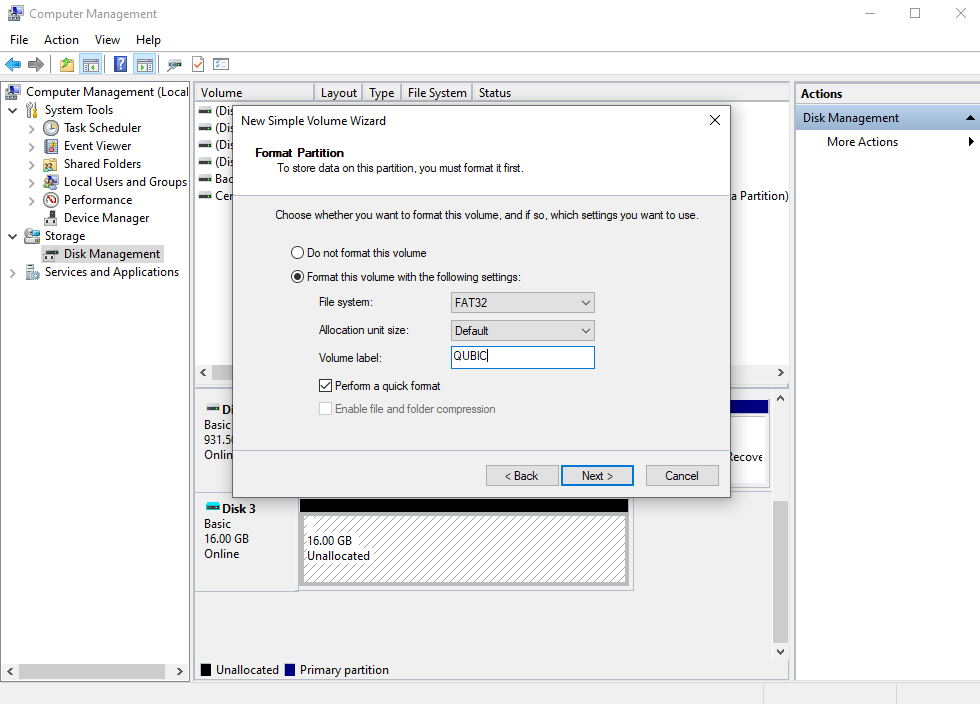
/efi/boot/Qubic.efi4.Format the Qubic Boot USB disk as FAT32 with label QUBIC and copy the files of the EFI folder to the USB disk.

6.Go to BIOS and enable Network Stack
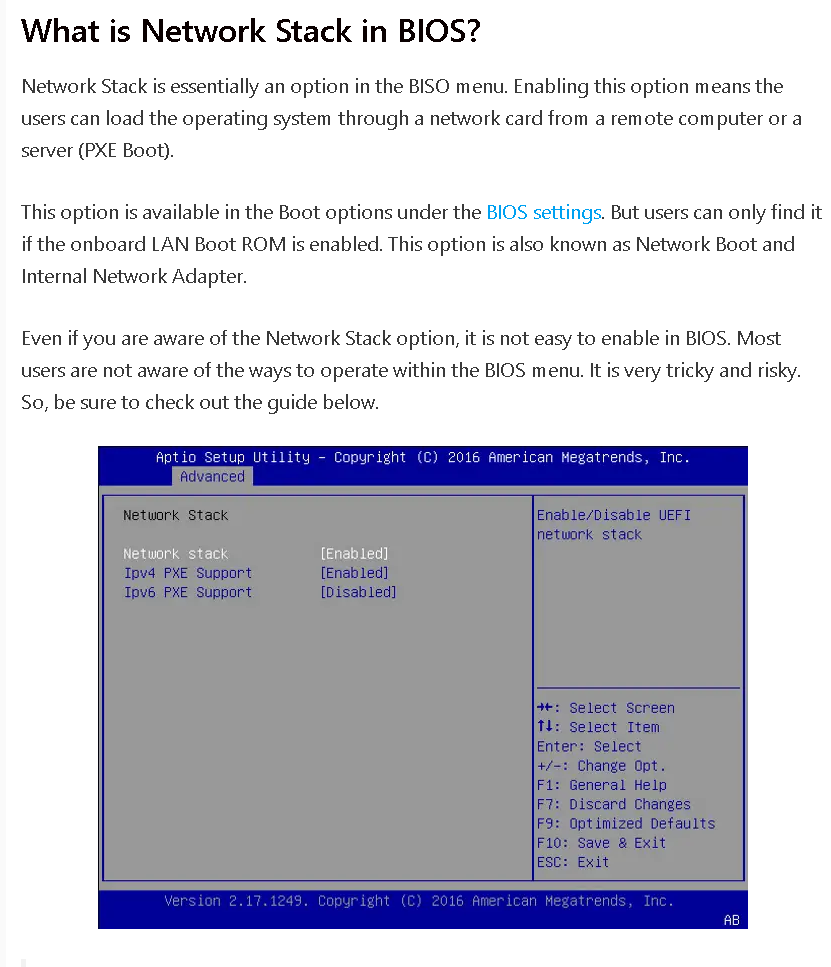
After turning on Network Stack, restart the computer and select USB boot.
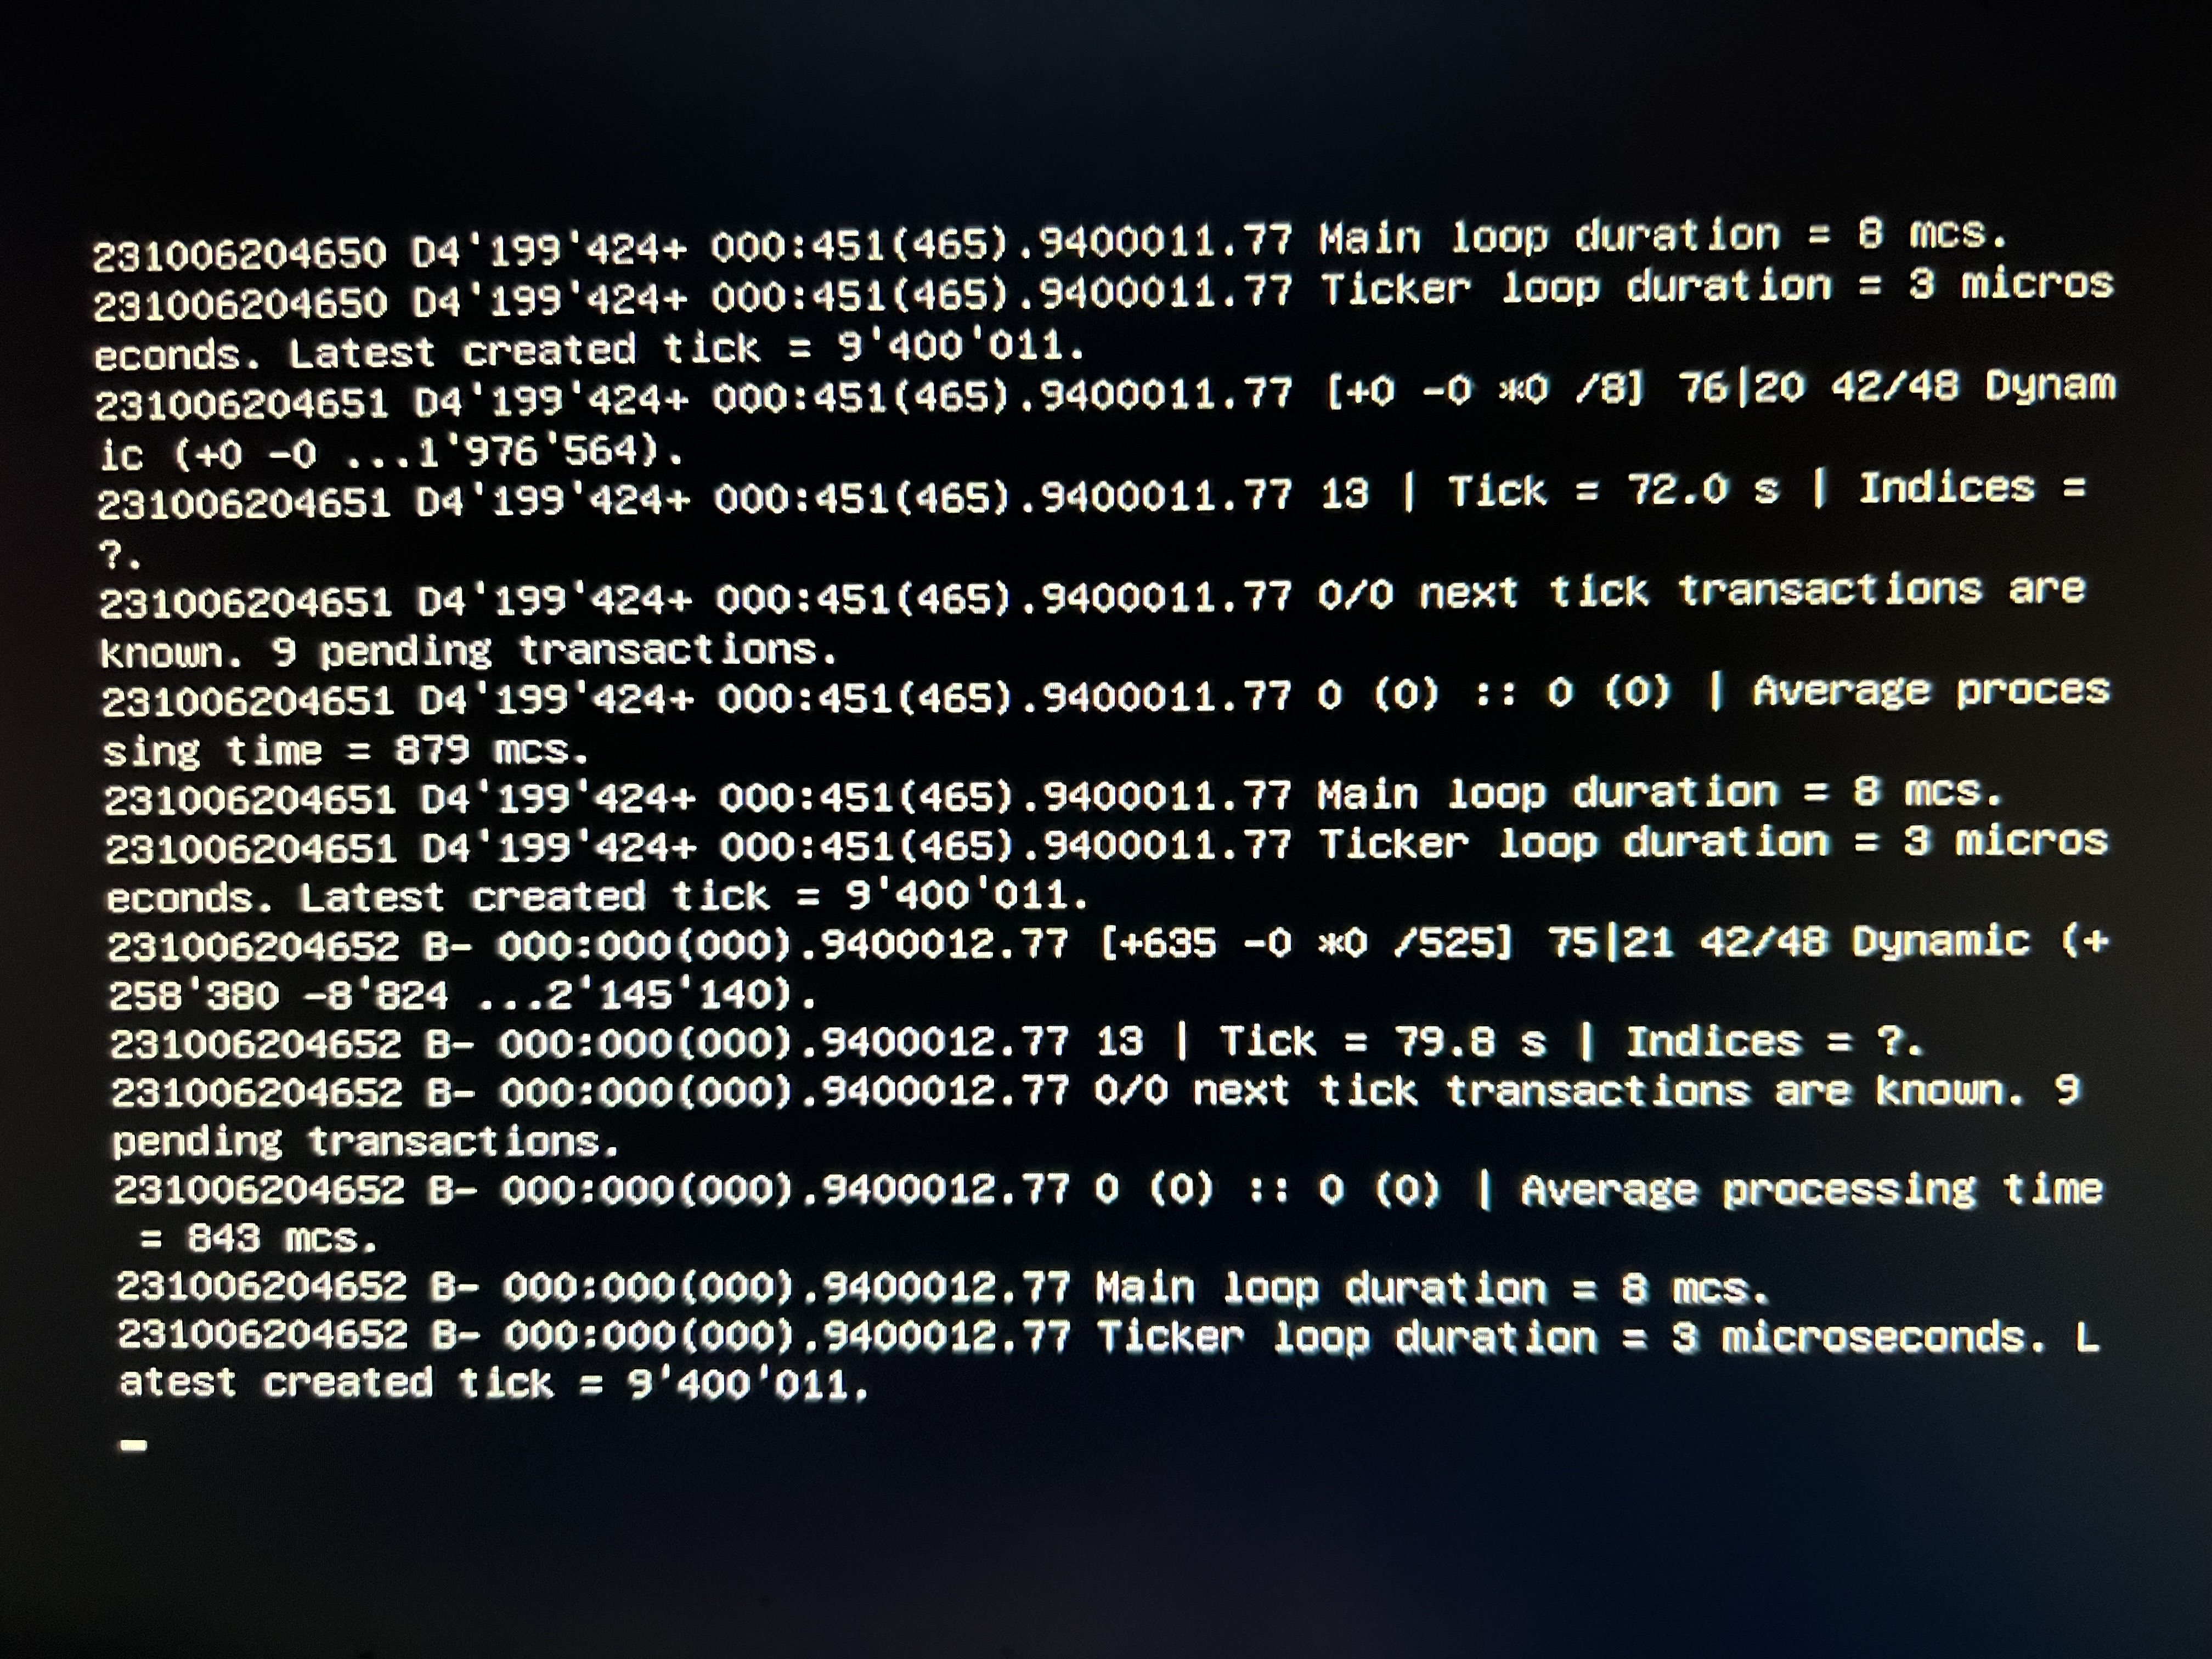
When you see this screen, congratulations, you successfully ran Qubic Node!
VirtualBox (VM)
1.Installing Virtual Box
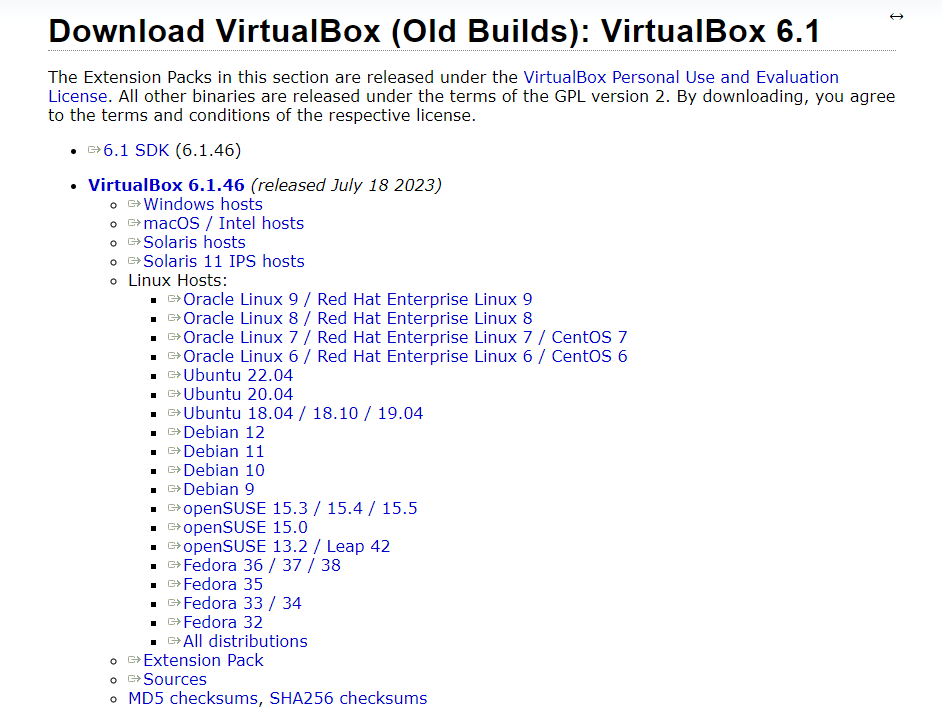
Personally, I prefer version 6.1
There is nothing extra to note about the installation process, other than which folder you want to install it in.
2.Preparing the boot disk
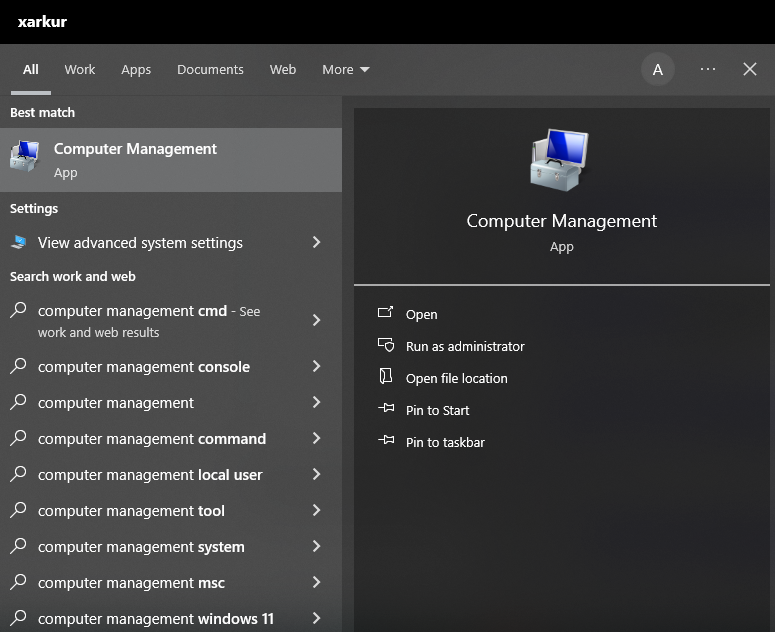
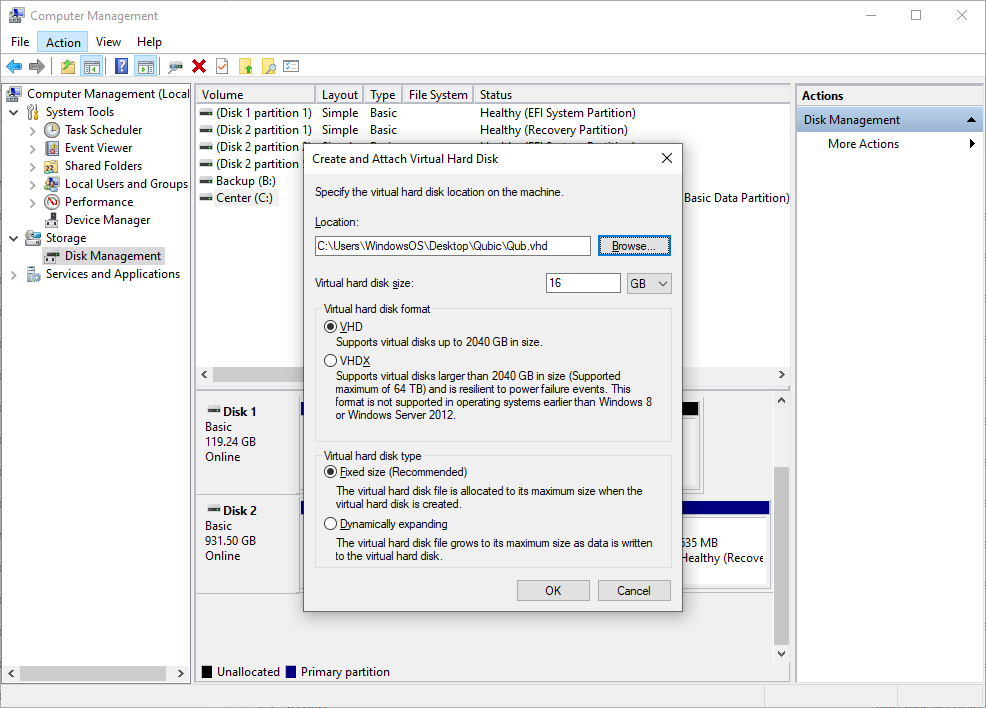
1.Win + S Search and open Computer Management
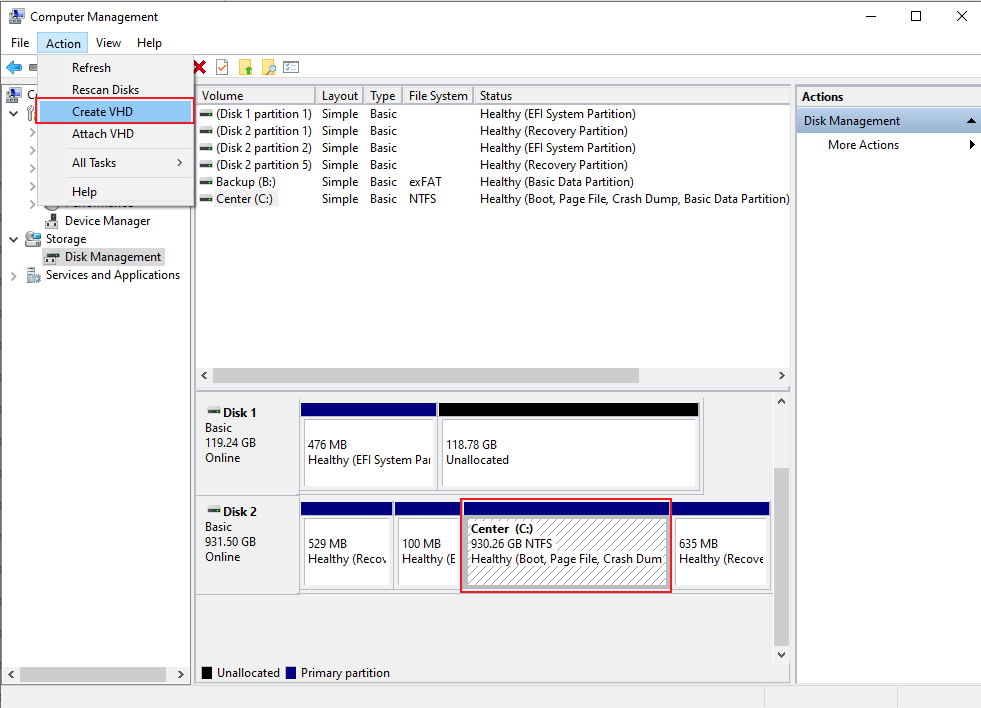
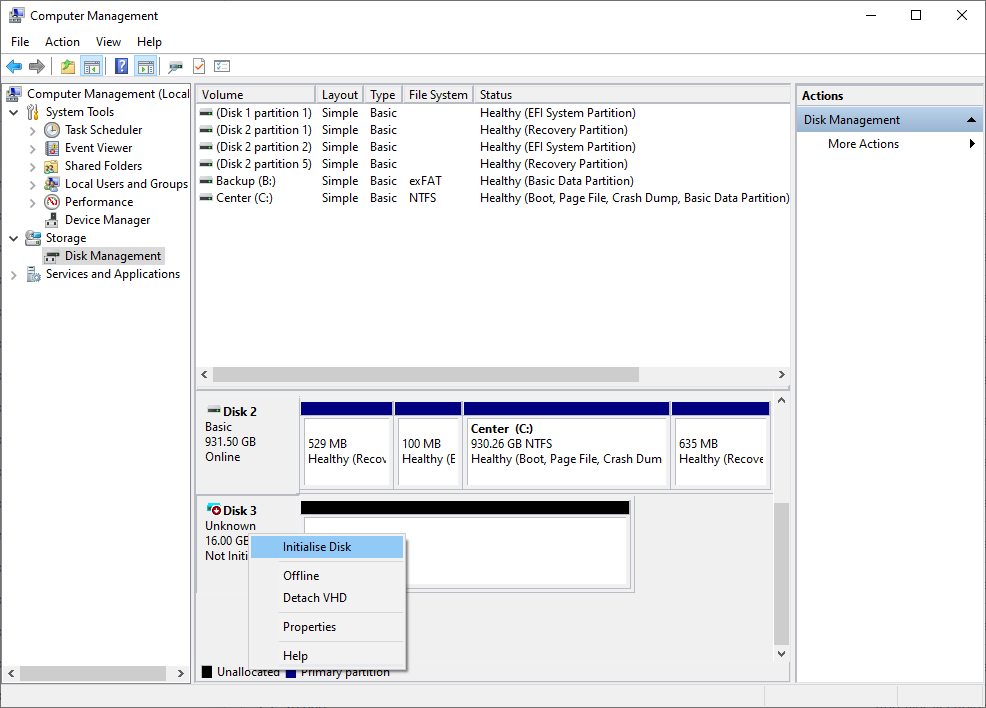
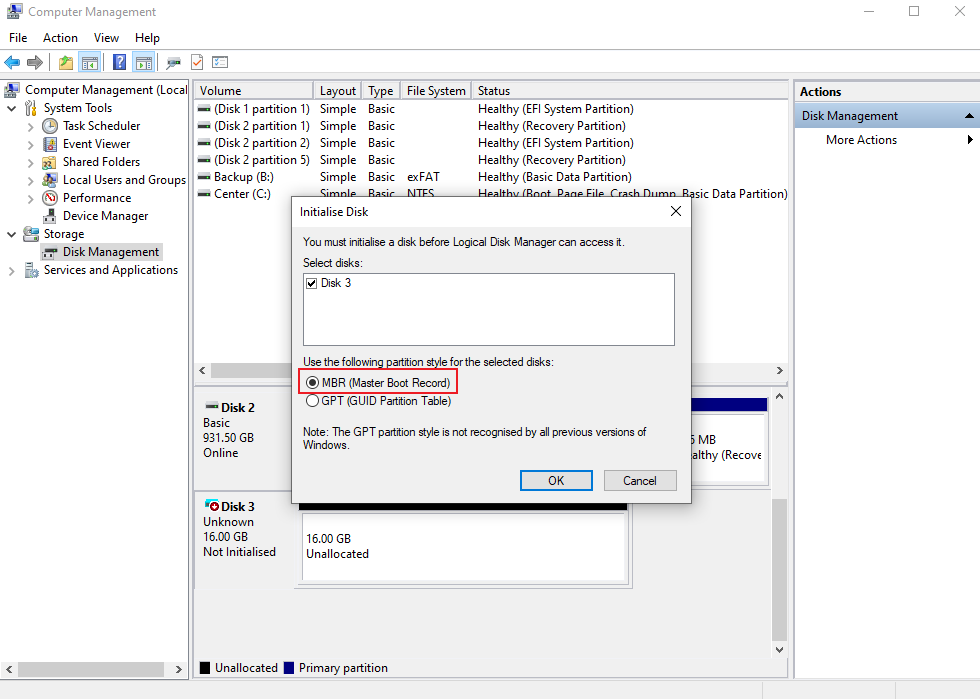
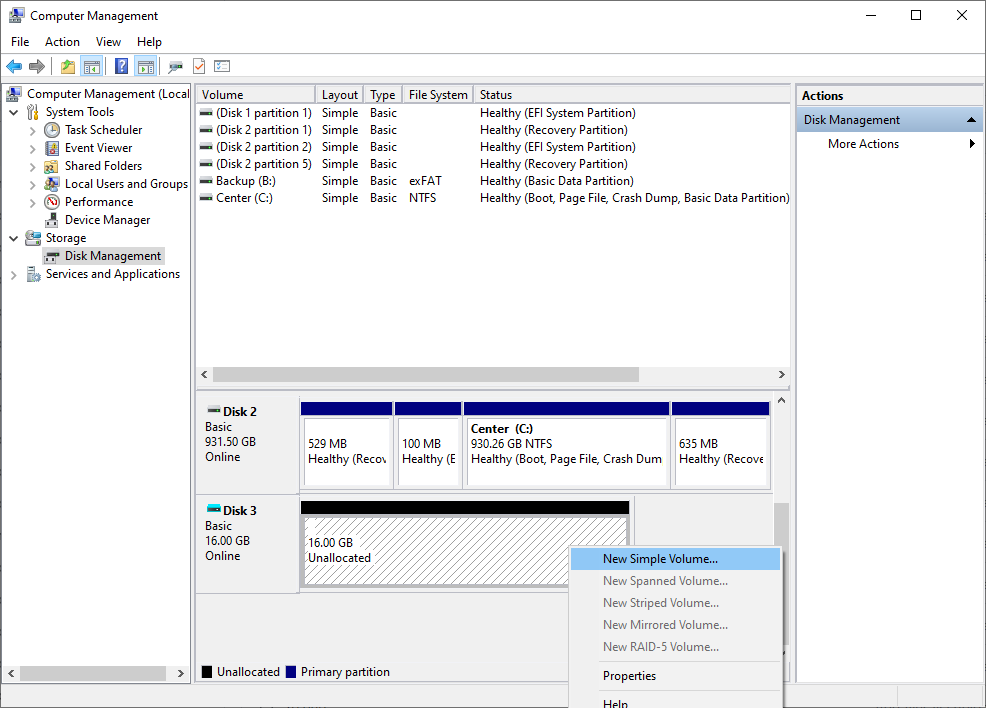
2.Create VHD and Disk
You need to click on a disk to create a VHD.
The complete file directory should look like the picture.
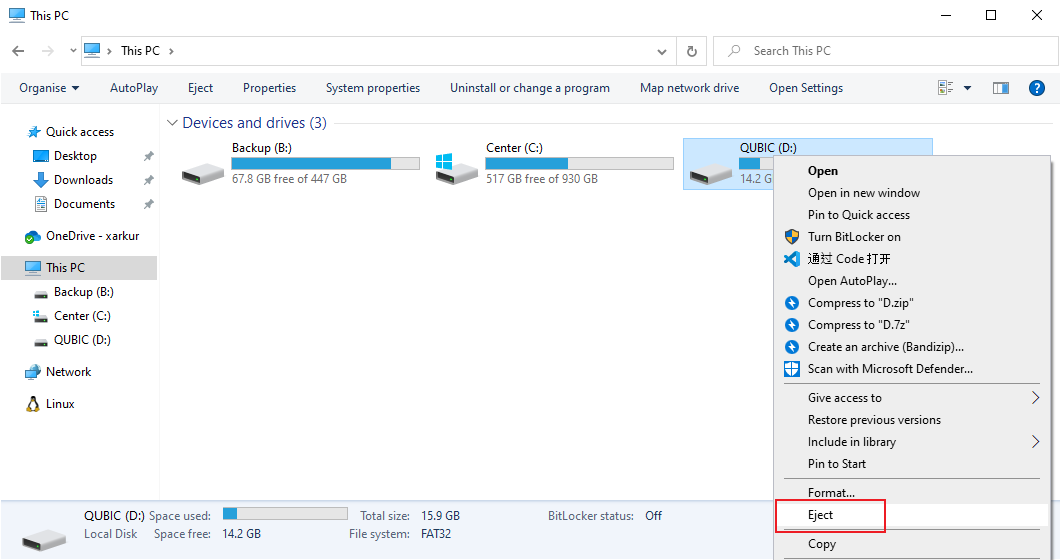
3.Copy the EFI files to the new disk and Eject it
If you don't know how to create an EFI file, please check here: https://github.com/XARKUR/Qubic/blob/main/Qubic-Node.md#prerequisites
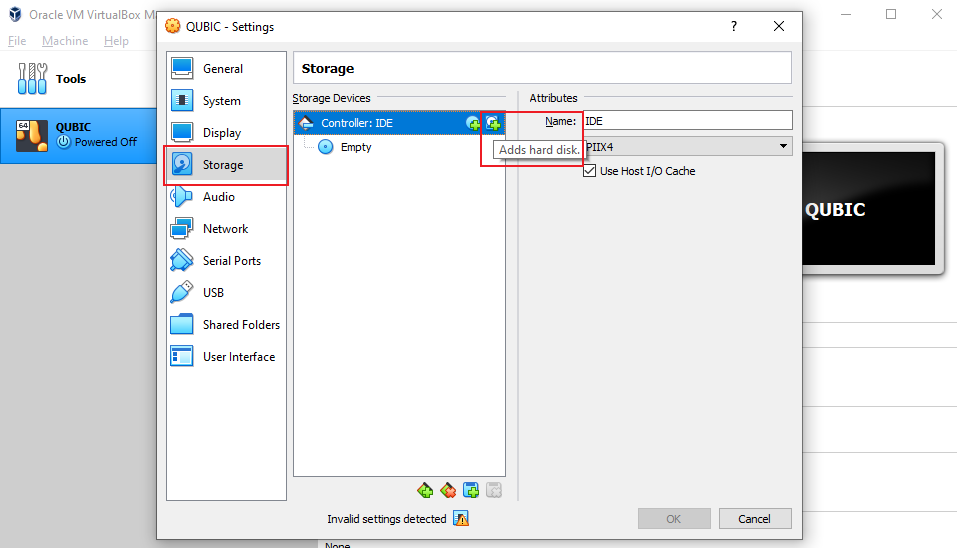
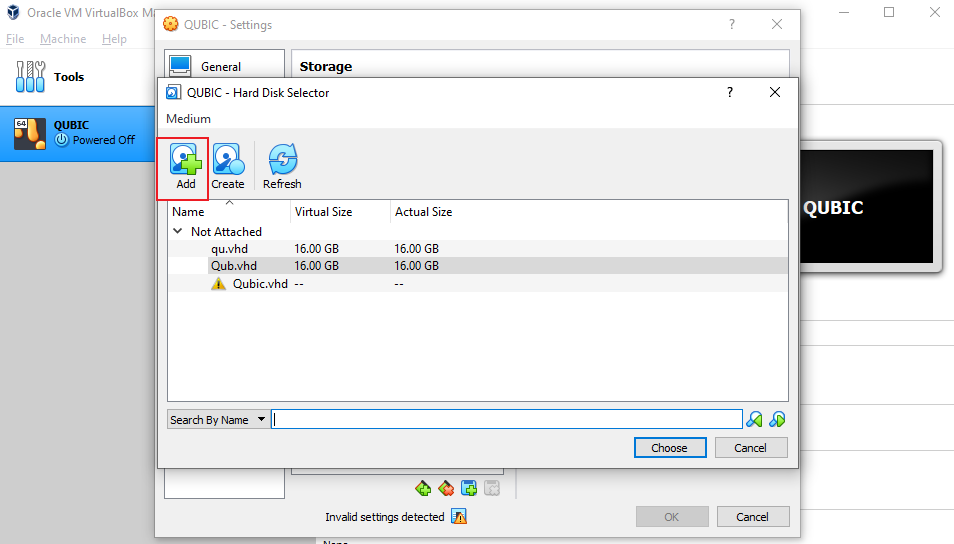
3.Virtual Box configuration
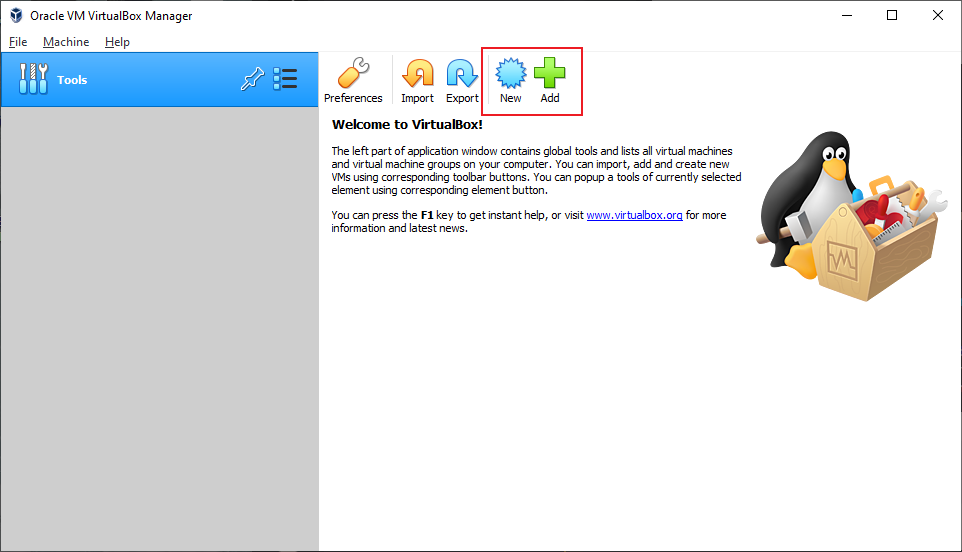
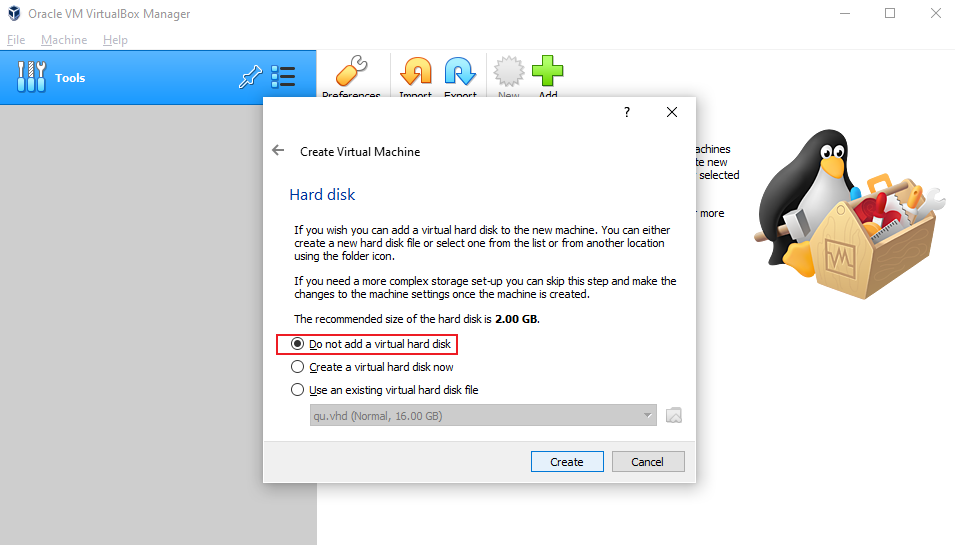
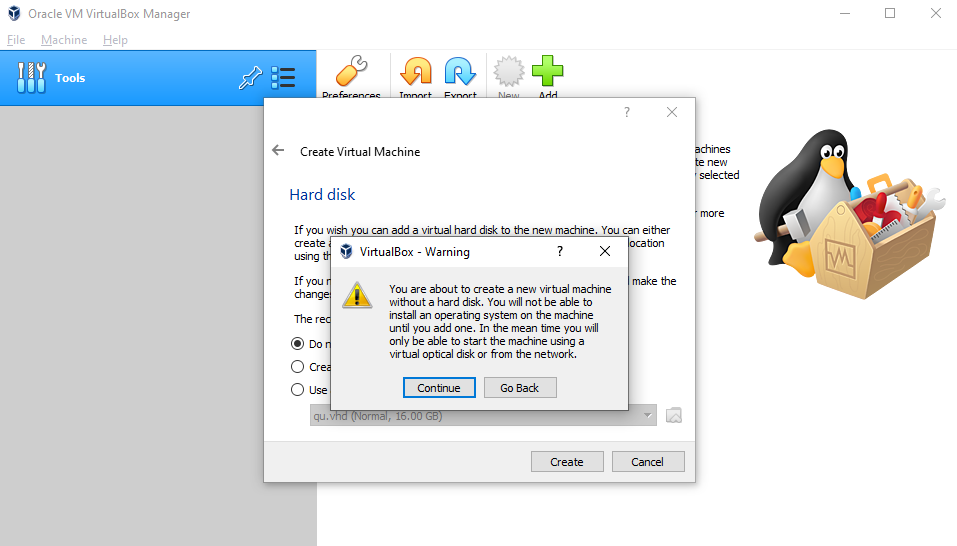
1.Create or Add new Virtual Machine
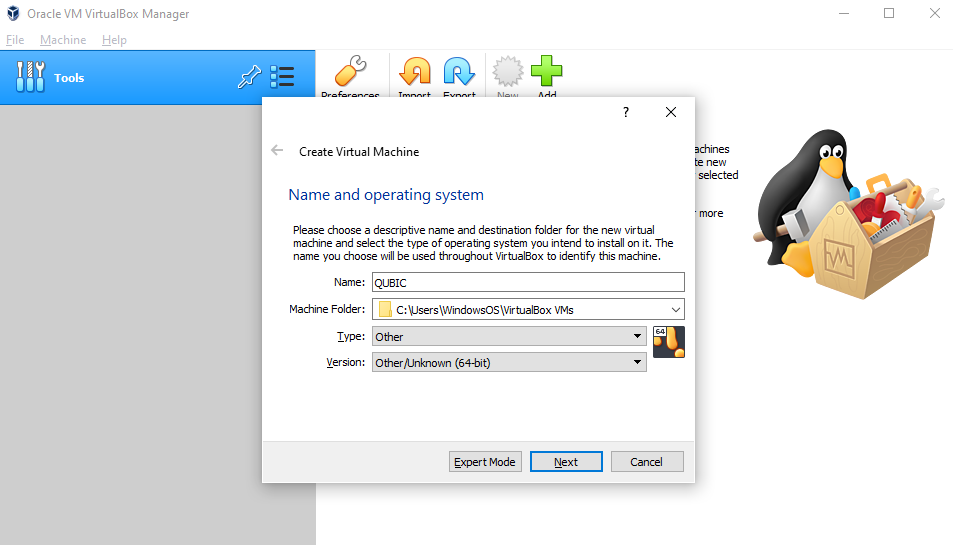
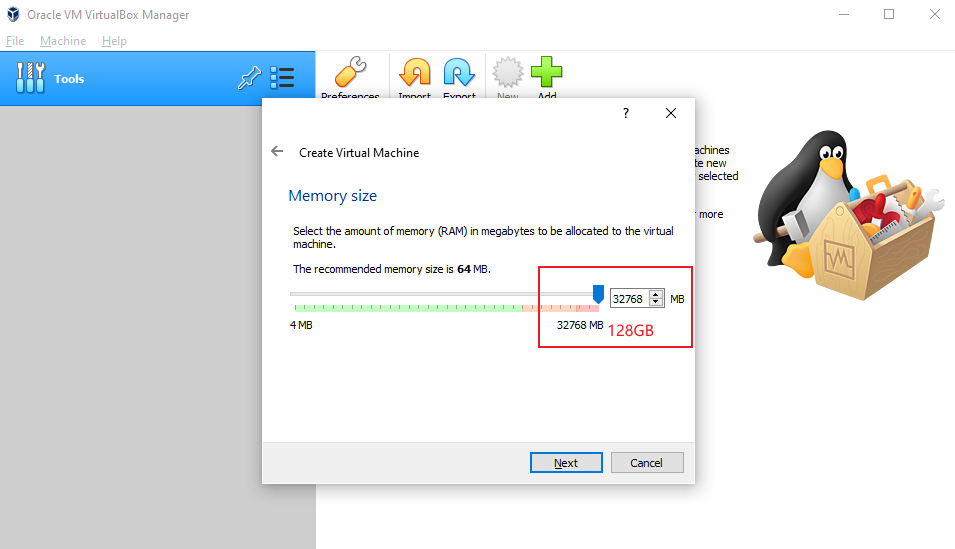
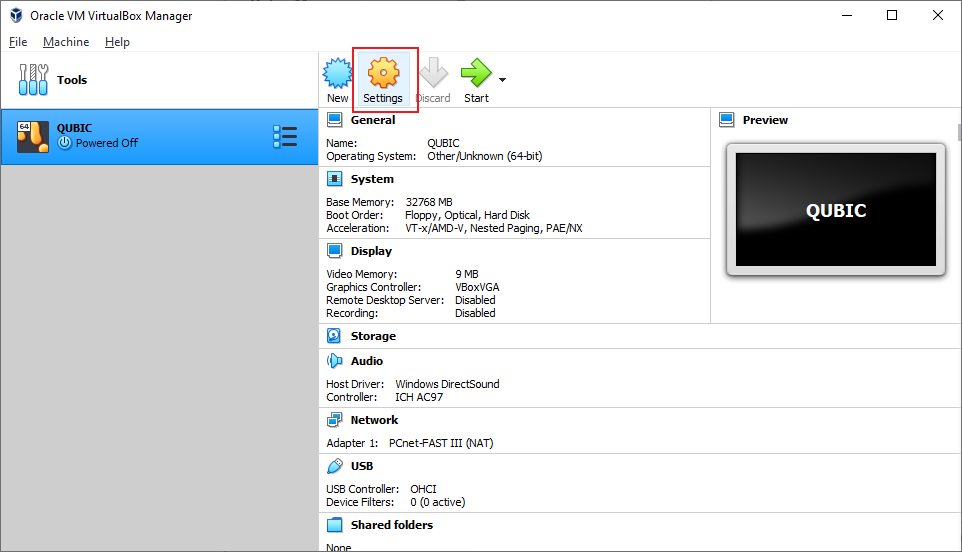
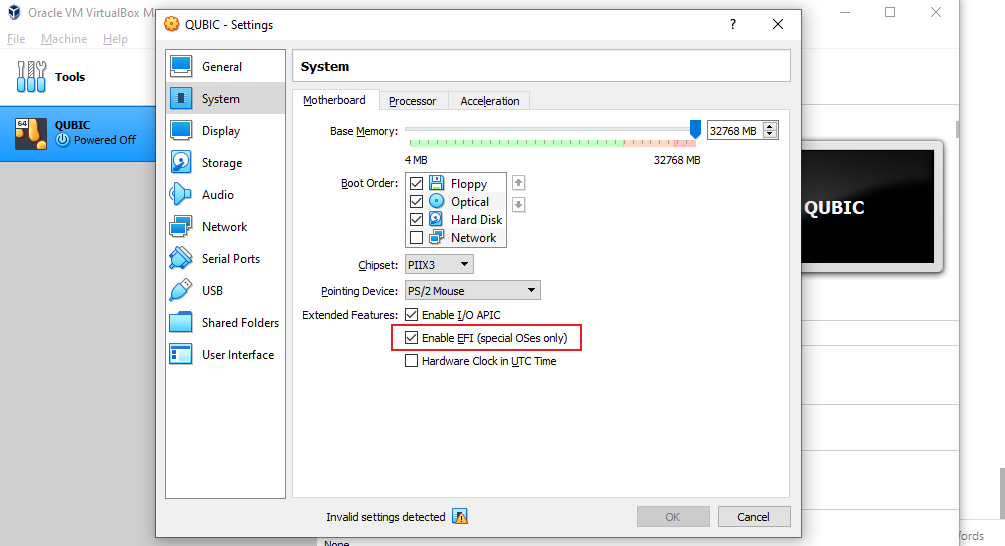
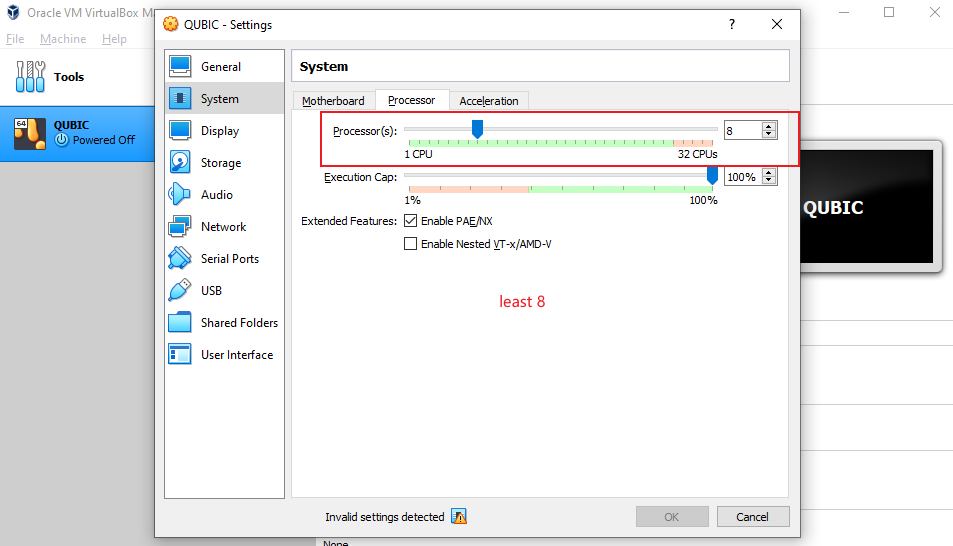
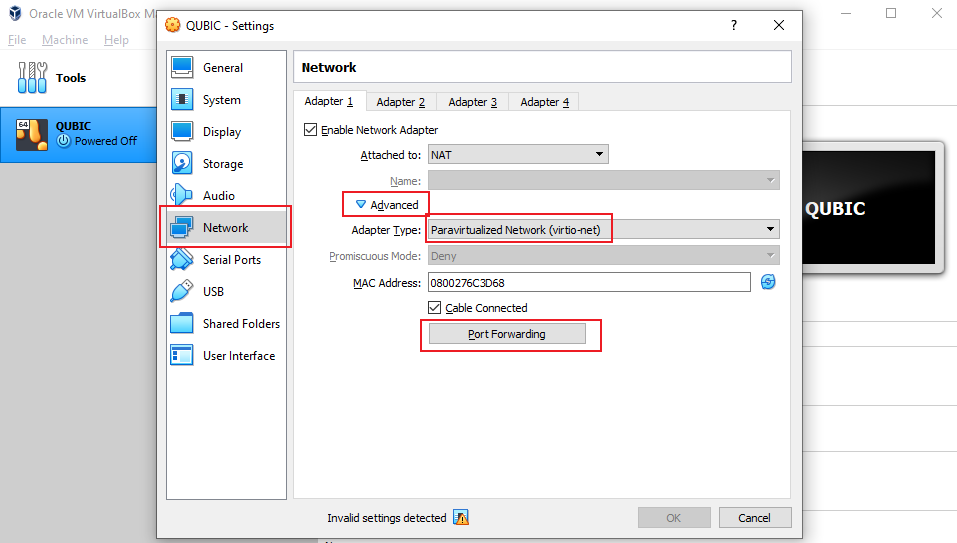
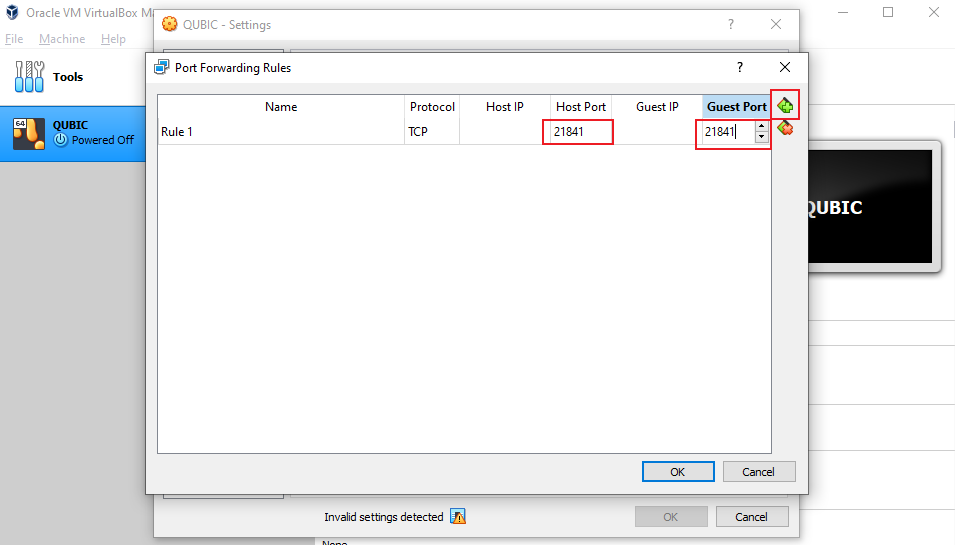
2.Virtual Machine Setting
Least 128 RAM and 8 Cores CPU
GO! You successfully ran Qubic Node!
